Friday, 8 February 2013

Bun, bun, bun!

Sorry, bad pun (bun!). Ok, I promise to stop...But I will show you my new polymer clay makes. I made a rabbit bead for a very special bracelet (will share with you soon) and decided to make a few more. I played around with some colors and 'white washed' all the rabbits.

This one is a dark turquoise color. He's a little bit different than the other beads, since I carved him more than sculpted.


The other rabbits were sculpted and look just as sweet. They're all hand finished and buffed to a shine. Just look at those little faces...


My favorite has to be the black. There's something very regal about him. He was quickly claimed and will soon be winging his way to a new home in Luxembourg.


The others have just been listed in my shop, though. There are more photos on the listings, so have a peek! 


Tuesday, 5 February 2013

Giveaway!

CLOSED! A winner has been chosen. Thanks for playing!

Are you excited? I love giveaways. This is my first giveaway as Beady Eyed Bunny, so let's have some fun!

I'm offering these solid brass earrings with handmade earwires, crystal glass beads, and emerald green glass drops. You won't get pinched with these on St. Patty's Day!

How to enter: Comment here letting me know which style of these earrings you prefer. Winner will receive the style they choose. Make sure to leave your email address in the comment or that it's on your profile.

Style 1: Faceted crystal beads wrapped onto brass 'stick' style earwires with emerald green glass drops.


Style 2: Faceted crystal beads in a chain style with emerald green glass drops and handmade earwires.

Additional entries can be gained by going to my Etsy and picking out your favorite item. Come back here and tell me what it is.

New purchases in my shop will also gain you entries.

New followers to my blog will be entered, too.

And finally, some love on my FB page is appreciated. But not mandatory! All new likes will be added to the giveaway pool.


This is open to international entries, so don't be shy. The giveaway runs for one week, and the winner will be announced here and onFacebook. Make sure I have a way to contact you!

Not an earring person? The winner can choose a pair of my clay birdies in a random Spring color instead.

You won't get us, but some of our friends!

Saturday, 2 February 2013

New FB page!

Well, I made the plunge. I started a Facebook page for my jewelry and handmade supplies. You can check it out here. I'll be posting tutorials, sharing giveaways, and updates for my shop. I'd love it if you could stop by!

Oh, and you can find my newest pair of earrings there, too. Click the pic for more photos in my shop. They're called The Night Garden...

Thanks for visiting!

Friday, 1 February 2013

Heart link tutorial

With Valentine's Day coming up, I thought I'd share the love by revisiting this tute I posted on the UK Beaders forum blog last year. I made this long before I had my own blog. Looking back at it, I've learned a thing or two about editing photos!

In any case, I hope you find it useful. Here it is!


Supplies:

Wire - gauge and type is up to you. I've used 0.8mm silver plated copper here
Round nosed pliers
Wire cutters
File or fine sandpaper (optional)
Hammer (optional)

**Caution** A quick word of warning, if you have a pair of goggles around, put them on! Love isn't the only thing in the air - there are bits of flying metal, too.

Step 1:

Cut as many lengths of wire as you require. The length is up to you. I cut 2cm lengths for this project. File or sand the rough ends of the wire, if necessary.

Step 2:

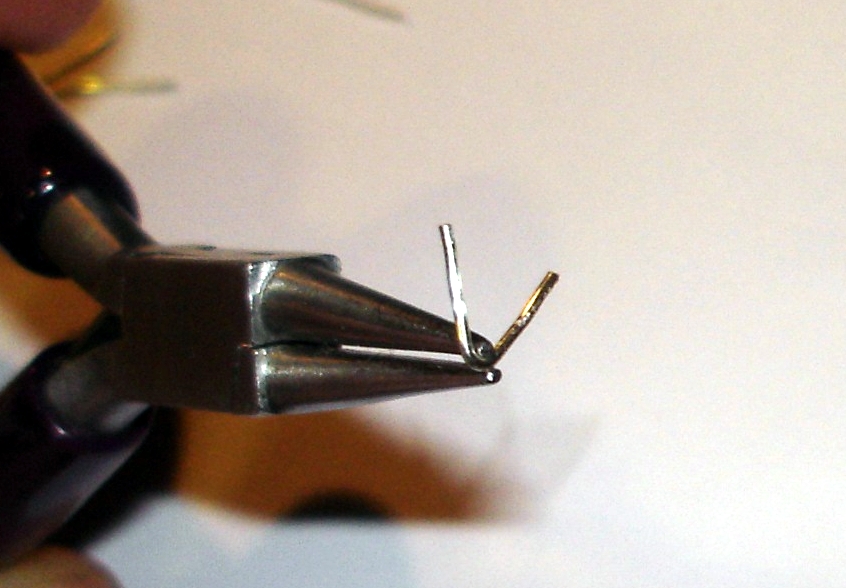
Take a length of cut wire, and bend it in the middle with your round nosed pliers into a V shape.


Step 3:

Take your V shape and with your pliers curl one end (like you would for a loop). Bend the wire until you've made a half circle (roughly!).
 

Step 4:

Repeat Step 3 on the other end of your V, and you have a heart! You may need to tinker a bit with the shape to get it just right.


Optional:

This next step adds a great effect, especially if you want a rustic touch. You can gently hammer the links. Or, if you're using silver plated wire, squeeze the links between your pliers. Sometimes hammering is a bit rough on plated wire. If you're using solid metal, hammer away!


Now, you should have sweet little hearts to add to your projects. Link them together for chains or add beads to them for charm bracelets and earrings.

Tuesday, 29 January 2013

New colorful clay beads!

I made some new polymer clay beads over the weekend. They're colorful, rustic, and nature inspired. And perfect for summer. Want to see?

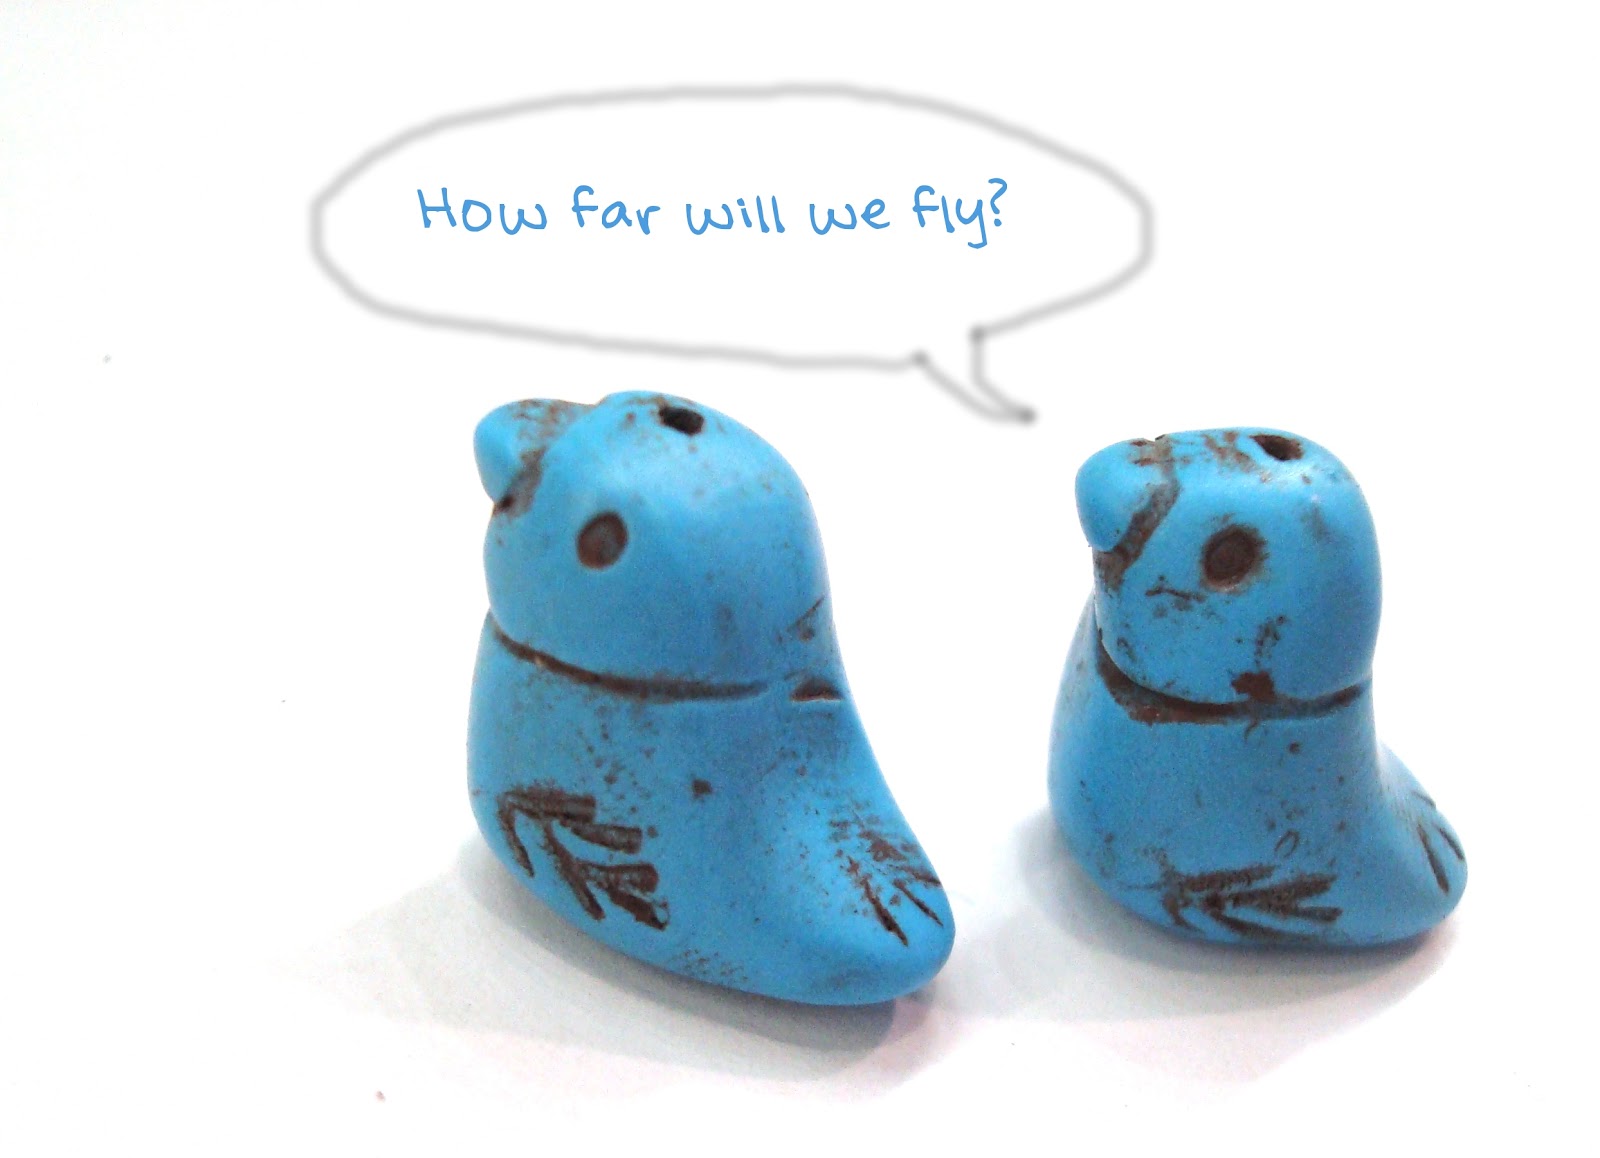
These adorable turquoise blue birds with brown highlights are just waiting to be made into earrings or charms. They're tiny, but sturdy and full of personality.


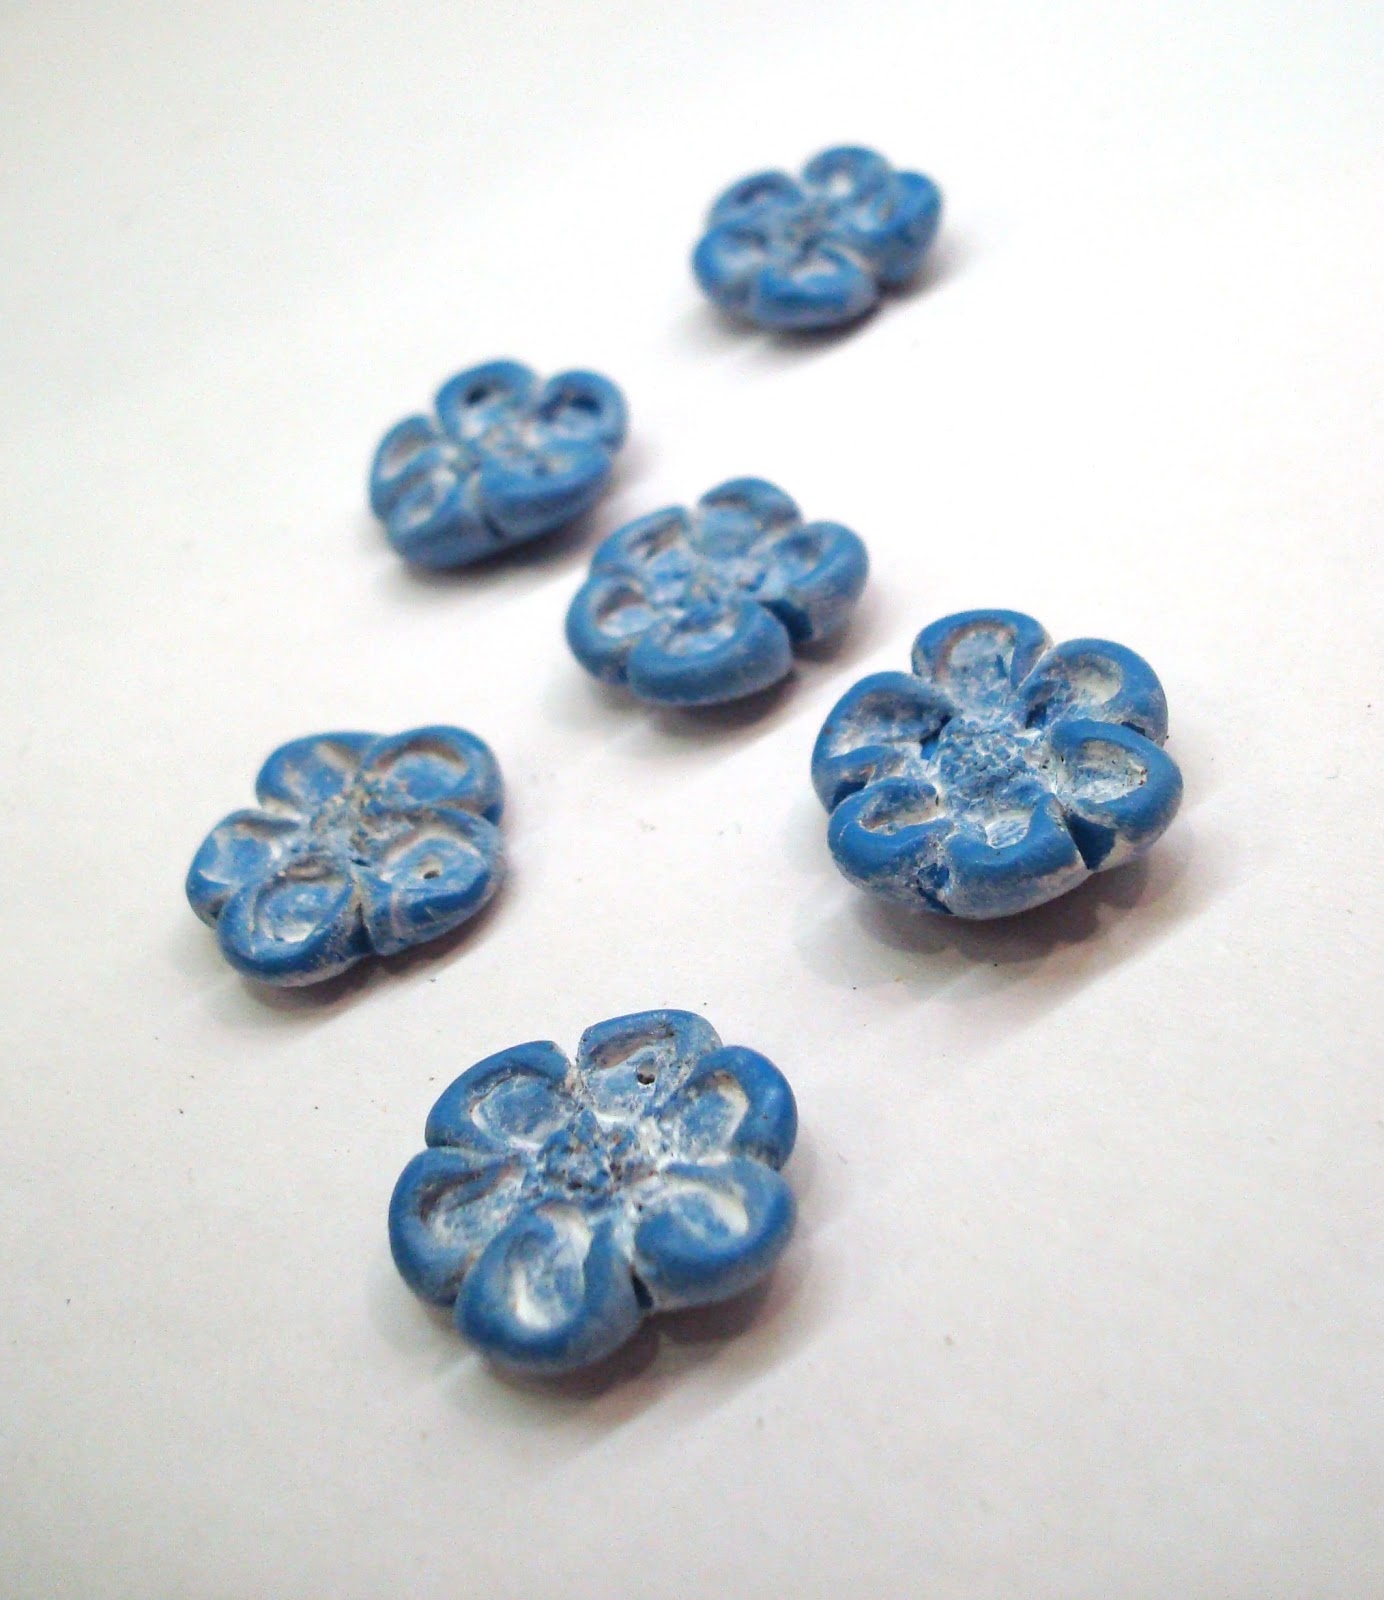
I also made some flowers with a similar antiqued look. These dusty blue daisies make perfect little charms.


I made some abstract flowers in summer colors. The red ones are complete with brass loops, and the yellow sunflowers would make perfect little connectors.


And for something a bit different, there are these tribal, rustic inspired bead sets.

 
I'll be listing these beads and more today in my shop!

Thursday, 24 January 2013

7th BSBP - are you ready?

I didn't think I'd be this excited about the next 7th Bead Soup Blog Party® . Last year was the first time I participated in the huge, international bead swap and blog hop. It was a lot of fun, but I wasn't sure I was going to do it again this year with other recent commitments. But as the sign ups draw nearer, I can't resist!

The mystery of who you get as a partner, Lori pairs everyone, is part of the fun, too. It's a wonderful way to expose yourself to other beaders and jewelry designers.

It's also a great way to test yourself. You never know what you will get, even though most of us try to send something our partners will like. Part of the fun is challenging your partner to use something they may not already; to broaden their beady horizons.


Last year, I had a wonderful partner, Maryse, who sent me gold leafed lampwork, vermeil beads and sari silk. Gold and sari were two things I'd hardly used. But the soup was so beautiful, I couldn't help but be inspired.


Sign ups for the 7th BSBP are tomorrow, so don't miss it! 


Tuesday, 8 January 2013

ABS Challenge

The Art Bead Scene blog has a beautiful inspiration piece for this month's challenge. Black Peacock with Japanese Persimmons by Jessie Arms Botke. I love this painting and found the perfect beads to use in my entry.

The art beads I used were made by Tania Grey. Somehow, they were just perfect. These frit filled lampwork beads had just the right colors; splashed with blues, greens, and dabs of yellow, like the persimmons. The clear glass Tan used reminds me of the river behind the peacocks in the painting. Her beads have beautiful flow!


I knotted the glass nuggets along black cotton cord. Then I added a length of handmade copper chain with clusters of glass flowers in the same colors. Nestled amongst the flowers are twisted copper wire beads with rosy tipped ball ends I made. You can see one between the blue flowers here.


The closure is a chunky copper clasp I made with a vintage Swaroski crystal dangling from the extension chain. There's a dark, metal rose stamping as a focal.


 I nestled silver lined seed beads in the flower dangles for a little extra sparkle and detail. I love how this bracelet came out. It's feminine and comfortable to wear, but still earthy without being too bold.


I've listed this  bracelet in my shop. There are lots of new items, so worth a look! Also don't forget to have a peek at the ABS blog to find out how you can enter the challenge.